Moving in to this house 5 1/2 years ago was great for us! But, like every house, it had some updating to do. Through these 5 years we have done numerous updates and renovations, but I am lacking all of the "before" pictures. Since we recently moved to a new house (as of last week!) I decided to take all my "after" photos. This record of projects is more so for me, because when I was walking through the house I kept saying, "ooh, remember when I did that?" or "That was such a good idea!" or "That looks horrible before AND after."
So, for your enjoyment and mine, here are pictures and a little blurb of what was accomplished in this room.
THE KITCHEN

- Refinished all of the cabinets. (Sanded, stained and varnished)
- Replaced hardware
- Painted ceiling
- Replaced flooring (linoleum). There was much debate on if there was hardwood floor under multiple layers of linoleum, but finding out would have been too pricey so we just added another layer.
- New countertops...one of the few things I had a professional do
- New backsplash


- Replaced vent hood
- Replaced sink
- Replaced stove top
- Replaced dishwasher
- The oven was the next thing on the list, but never got around to it before moving.
DINING AREA

- New flooring continued from the kitchen
- Replaced light fixture
- Painted ceiling and walls
- Added crown molding

- Put up wall paper that looks like bead board. It was the neatest product! Very easy to use, I even did it myself. Added a coat of high gloss white paint over the wallpaper to give a clean, shiny look.
LIVING AREA

- Crown molding
- Added faux wood blinds-they are white
- Painted ceiling
- Painted walls
- Replaced fan
PLAY ROOM/DEN

- Painted walls...multiple times
- Fixed leak in roof which ruined our first paint job...hence the multiple colors
- Painted mantle and wood accents white
- Replaced saltillo tile with large ceramic tile
MASTER POWDER BATH

- Removed wallpaper and painted beige
- Replaced globes on light fixture
MASTER BEDROOM

- Replaced fan
- Painted this room twice. The first color was a dark gray, which Greg thought was too gloomy. I repainted a lighter gray which was named "Pure Silver".

- I loved this wall color!
CHILD'S ROOM
First, it was Mallory's room and then Casey's. That is why it leans toward girlish

- Added owl mural. This was done with a bottle of Mod Podge and paper from around the house. The tree is out of brown paper bags, the owls are from scrapbook paper and the flowers and leaves are from some floral wrapping paper I had on hand. This project was a max of $5-$10.

- Added a chair rail
- Painted lower half a flat white...bad choice. Should have been satin or high gloss. You can see where the bed used to be and that sort of bothers me.

- Painted the top half of the wall a beautiful jade color. When I first put it up, it almost looked black, but once the natural daylight hit it, it took on this beautiful jewel tone that I was going for.
- Added curtain rods and curtains
FULL BATH

- Painted walls (twice). The first time I painted this HORRIBLE neon yellow color. Went with a light tan the second time around.
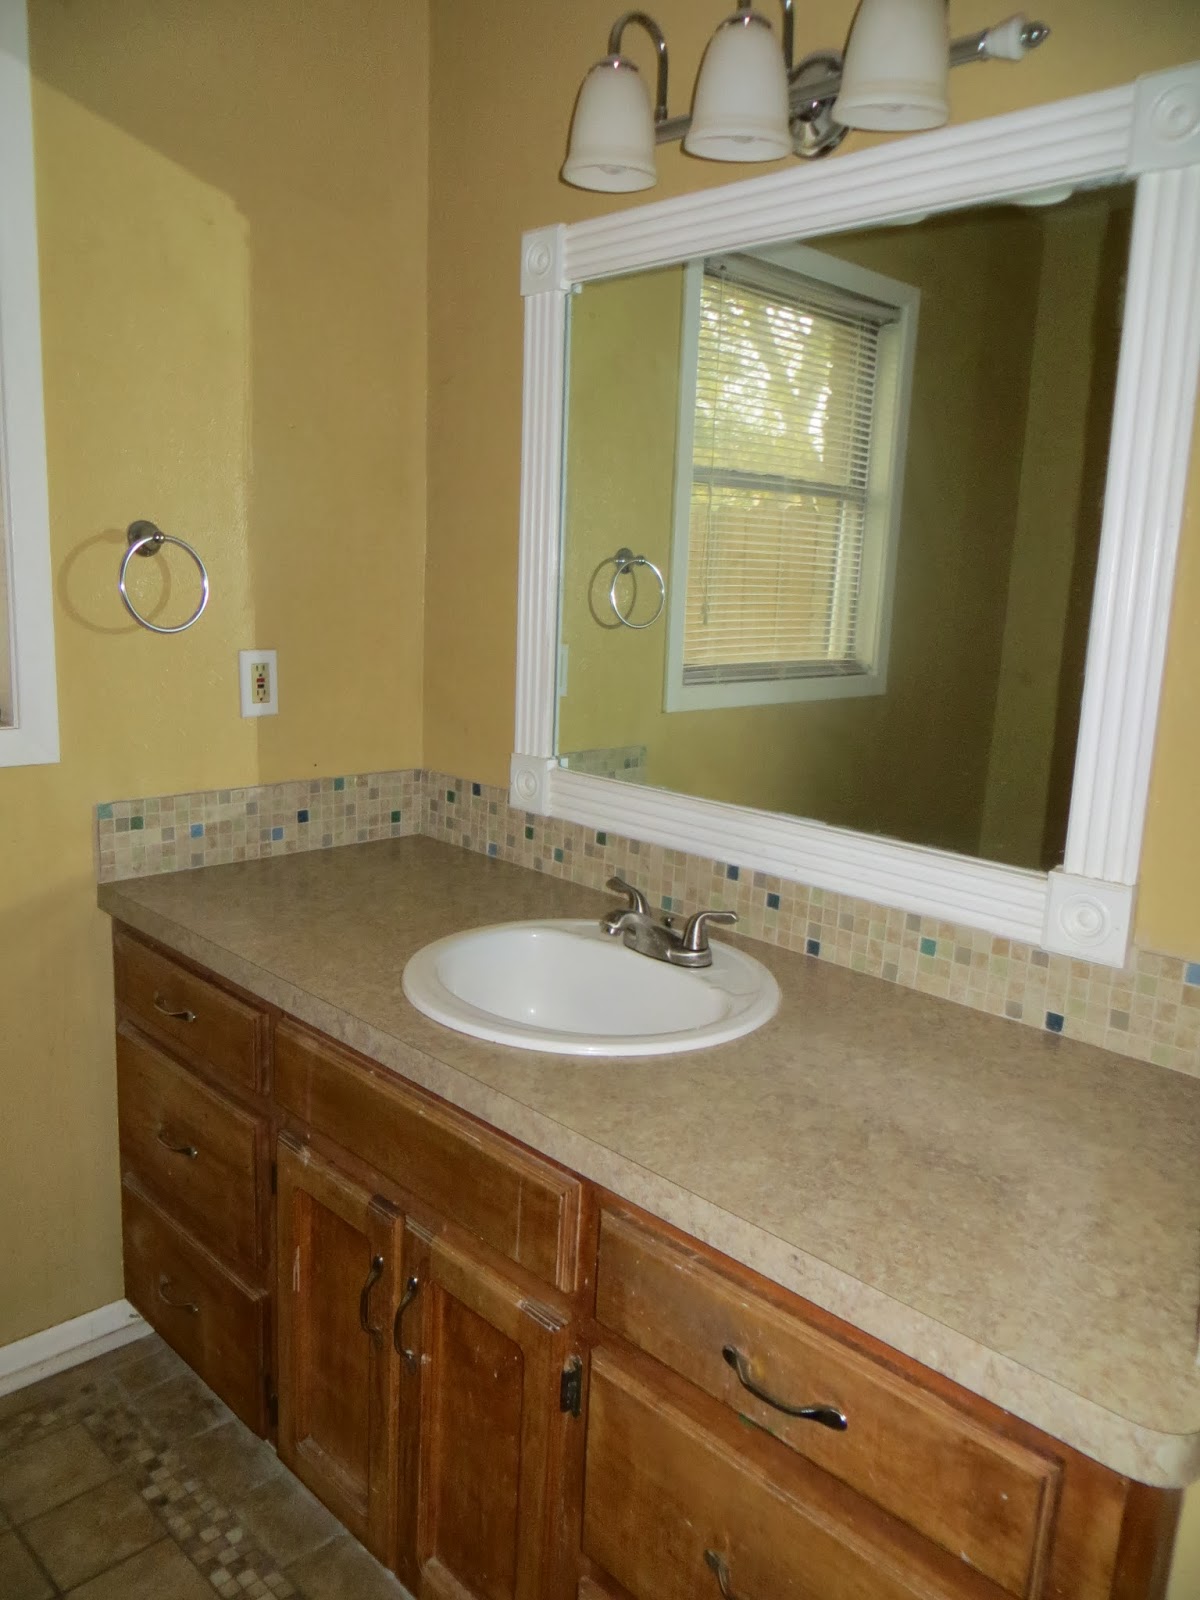
- Replaced light fixture
- Added frame around mirror
- Added nickel fixtures and hardware
- Replaced countertops
- Added backsplash
- Replaced sink and faucet fixtures

- Tore up white tile to find mint green tile underneath! Replaced with tan tile with an accent edge. My knees were killing me from crawling around so much after this little project.
NOLAN'S BEDROOM
This room has always been Nolan's room, but he had to start sharing it with Mallory after Casey was born.

- Replaced ceiling fan
- Added curtain rods and curtain
- Painted above the chair rail white after Nolan drew on the walls (he was almost 3).
- Painted under the chair rail a color that I hated, but the kids picked out. I thought, "How bad could it be?" It reminds me of the color of macaroni and cheese, but worse. For some reason, it also took multiple coats even though the can boasted that it would cover in 1 coat.

I'm hoping the new owners will love our house as much as we have. We don't have buyers yet...so if you are interested, give me a call. ( I know, shameless plug, but I'm trying to sell a HOUSE).
Have fun renovating, be better than me and take before AND after pictures.


